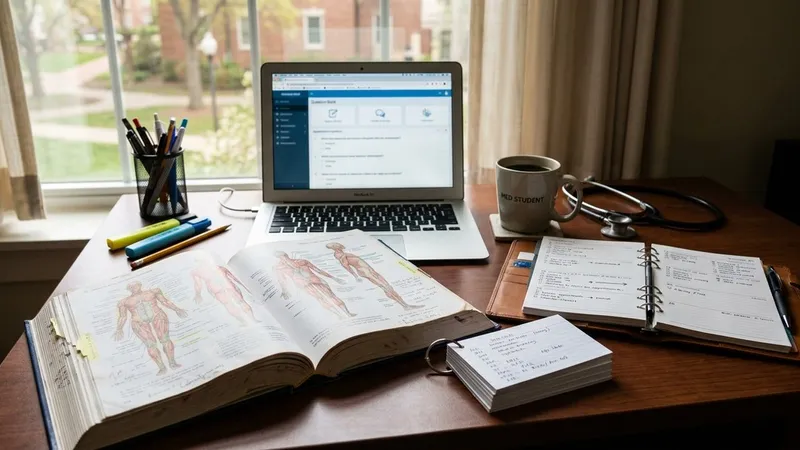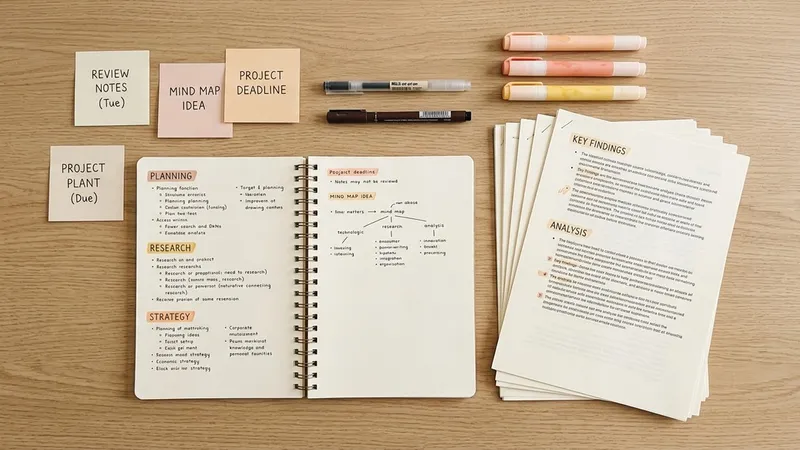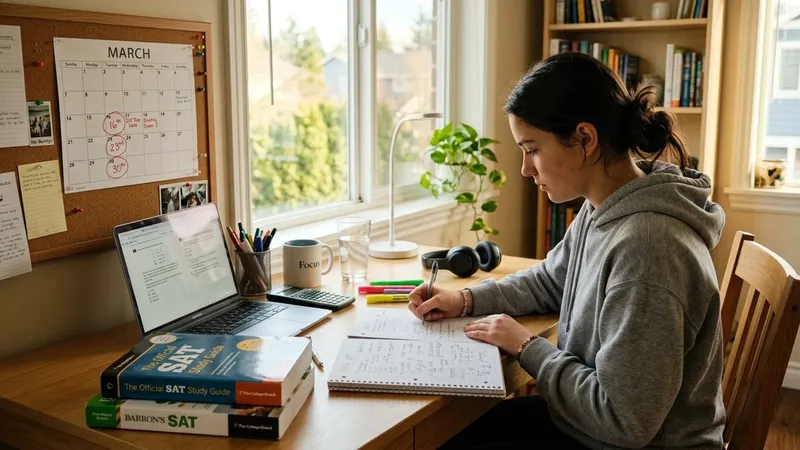
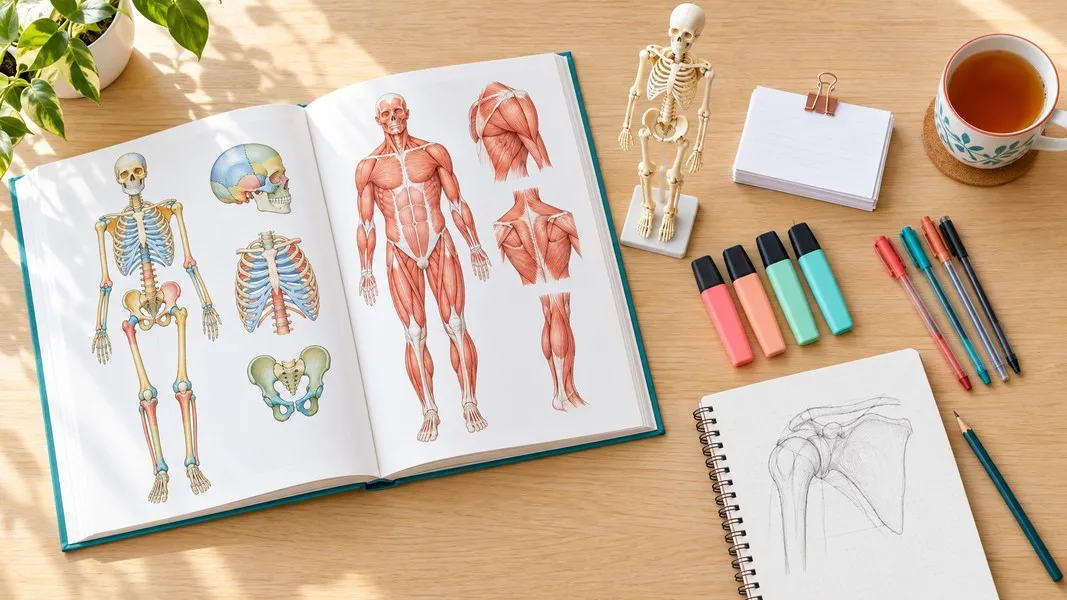
The best way to learn how to study anatomy is to stop rereading and start retrieving. Test yourself on every structure, spread those tests across the week, draw what you just named from memory, and tie each part to the job it does in the body. That combination beats highlighting, rewriting notes and cramming, and it works whether you are in a first-year A&P course, nursing school or medical school.
Anatomy feels hard because the volume is enormous and the terms are unfamiliar. You are learning a new vocabulary, a 3D map and a set of mechanisms at the same time. The plan below breaks that load into eight steps you can repeat for every region and every body system.
Why Anatomy and Physiology Feel So Hard to Study
Most students meet anatomy with the habits that got them through earlier courses: read the chapter, highlight it, read it again. Those habits feel productive and deliver little. A guide to learning clinical anatomy written for medical students points out that highlighting has repeatedly been shown to be relatively ineffective, and that rereading creates an illusion of competence: the page looks familiar, so you assume you know it.
Physiology adds a second layer. You are not just memorizing where the left ventricle sits, you are explaining why its wall is thicker than the right and what happens to pressure when it contracts. Anatomy is the map and physiology is the traffic, and you need both to answer exam questions.
The good news is that the research on this exact subject is unusually clear. The steps below follow it.
What You'll Need Before You Start
You do not need an expensive setup. You need a way to capture lectures, a way to test yourself and something to draw on.
- Your course syllabus and lab list, so you know which structures are actually examinable
- A blank notebook or whiteboard for drawing structures from memory
- A flashcard or quiz tool for daily self-testing
- An atlas or 3D anatomy app to check your drawings against
- A calendar where you can schedule short review sessions across the week
Start with the lab list. Many students try to learn everything in the textbook when the practical exam only asks about a defined set of structures.
Step 1: Preview the Region Before the Lecture
Spend ten minutes before each lecture skimming the region you are about to cover. Look at the main figures, read the headings and note the five or six structures that appear again and again. You are not trying to learn them yet. You are building hooks so that the lecture lands on something familiar.
Look up the roots of new terms as you go. Anatomical names are descriptive: "brachial" refers to the arm, "costal" to the ribs, "supra" means above. Once you know a handful of roots, a long name like supraspinatus explains its own location.
Step 2: Capture the Lecture, Not Just Your Notes
Anatomy lectures move fast, and frantic note-taking competes with actually watching the diagrams. Recording the lecture lets you keep your eyes on the board and fill the gaps later.
Primo Notes turns a lecture recording into a title, a structured note and a formatted transcript in one pass, so the professor's explanation of the brachial plexus is searchable instead of lost. If your lab instructor sketches on a whiteboard or you photograph a page of handwritten notes, the camera reads handwriting and printed pages into the same note format. If your lectures are in a second language, the app transcribes across 101 languages and can translate the note into yours.
Capture is only the start. A perfect transcript you never test yourself on is just a longer textbook.
Step 3: Turn Every Session Into Self-Testing
This is the step that matters most. In a randomized trial in a university anatomy and physiology course, students studied passages on cardiac electrophysiology, ventilation and endocrinology three different ways. One week later, the passages they had read, recalled from memory and then reread scored 53.95, against 48.04 for reading three times and 48.31 for rereading while taking notes.
Look closely at that last number. Taking notes while rereading did no better than plain rereading. Writing things down is not the same as retrieving them.
In practice, close the book after each section and write or say everything you remember. Then open it and check what you missed. Turn the misses into flashcards or quiz questions. Primo Notes can build both from a finished lecture note, which saves the hour you would otherwise spend typing cards. For more ways to quiz yourself, see these active recall techniques.
Free recall and short-answer questions have often produced better retrieval than multiple choice, though not every study finds a large difference. Mix in blank-page recall rather than relying only on recognition.
Step 4: Space Your Reviews Across the Week
Retrieval works better when it is spread out. Researchers at Georgia Southern University gave students exactly 24 minutes to learn skeletal muscle anatomy using different schedules. A week later, students who alternated studying and retrieving across seven days recalled 33.88 items. The same 24 minutes of studying and retrieving packed into one day produced 12.86.
That is the same time on task with nearly triple the recall. Studying alone across seven days, without retrieval, landed in between at 24.72. The combination of spacing and testing beat either one alone.
A simple schedule for each new region looks like this: test yourself the day of the lecture, again two days later, again at the end of the week, then fold it into a weekly cumulative review.
Spacing also protects you long after the exam. A study at Radboud University followed 180 students after a functional anatomy course. Those who did any repetition activity 14 weeks later retained significantly more at 28 weeks than those who did none, and the type of repetition, lecture, e-learning or dissection room work, made no difference.
Step 5: Draw Structures From Memory
Drawing forces you to decide where every structure sits relative to its neighbours, which is exactly what a practical exam tests. Start with a simple outline, add structures one at a time, then label them without looking.
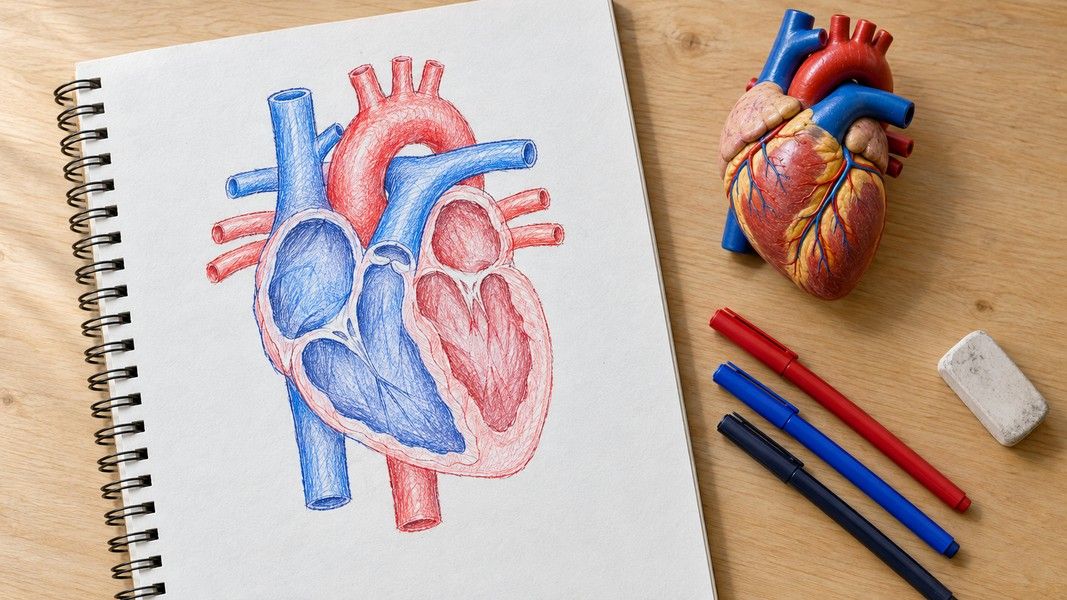
Keep the drawings rough. In a drawing workshop described by Borrelli and colleagues in 2018, 31 of 32 students completed the self-rated knowledge check and their scores improved by 41.4%. Students also reported a better grasp of key features once they had simplified bones and muscle attachments into their own sketches.
Check every drawing against your atlas or a 3D model, then redraw what you got wrong. The correction is where the learning happens. Blank diagrams from your course, with the labels covered, work as a quick version of the same exercise.
Step 6: Pair Every Structure With Its Function
Memorizing a list of names is fragile. Linking each structure to what it does gives your memory a second path back to it. When you learn the rotator cuff muscles, learn which movement each one produces. When you learn the nephron, trace a drop of filtrate through it and say what changes at each segment.
This is where anatomy and physiology study becomes one task instead of two. A question about why a patient cannot abduct the arm after a nerve injury needs the nerve, the muscle and the movement. If you studied them together, the answer comes as a chain.
Mnemonics help with fixed lists such as cranial nerves or carpal bones. Use them for order and naming, not as a substitute for understanding. These mnemonic device examples show where they help and where they fall short.
Step 7: Explain It Out Loud
If you cannot explain the cardiac cycle in plain words, you do not know it yet. Teaching a classmate, a pet or an empty room exposes gaps that silent rereading hides.
Talk through one mechanism a day: how a breath moves air in and out, how an action potential travels, how insulin lowers blood glucose. Notice where you hesitate. Those hesitations are what the clinical anatomy guide calls muddy points, and it recommends keeping a running list of them to revisit.
Primo Notes includes a Feynman mode for this: a guided spoken session where you explain the material out loud and the app works on the gaps in your explanation. You can also use Ask AI to question a single lecture note when a concept still does not click.
Step 8: Rehearse the Practical Exam
Lab practicals ask you to identify a tagged structure on a specimen, model or image, often against a clock. Practise in that format. Use image-based flashcards, cover the labels on atlas plates, and time yourself.
If your course has limited cadaver access, do not panic. A 12-year study at Memorial University covering 782 medical students found anatomy exam performance stayed surprisingly consistent with and without prosected cadavers, and that missed lab sessions were not associated with lower scores. The authors concluded that consistent performance can be achieved with a variety of methods. What you do with the time matters more than the specific resource.
How to Study Anatomy Across a Full Week
Put the steps together and a typical week looks like this. Before each lecture, spend ten minutes previewing the region. After it, run a short blank-page recall session and turn the misses into cards.
Two days later, quiz yourself on that region again and draw its key structures from memory. At the end of the week, do a mixed review that covers every region from the week plus one or two from earlier in the term. Once a week, explain one mechanism out loud from start to finish.
Short sessions beat marathons. Twenty to thirty minutes of retrieval each day adds up to more retained anatomy than one long session the night before the exam, as the muscle anatomy study above showed with identical time budgets.
Tips for Better Results
- Study from the lab list first, then expand to the textbook once the examinable structures are solid
- Say every term aloud when you test yourself, so pronunciation stops slowing you down on oral or practical exams
- Group structures by relationship, such as everything the median nerve supplies, rather than learning them in isolation
- Keep one running document of muddy points and start each review session with it
Troubleshooting Common Issues
"I recognize everything but can't recall it"
That is the illusion of competence from rereading. Switch to blank-page recall before you look at anything. If you can only recognize a structure when you see its label, you have not learned it yet.
"I forget the last unit while learning the new one"
Your reviews are not spaced far enough back. Add a cumulative block to your weekly review that pulls in two or three older regions. The Radboud study suggests any form of repetition helps, so even a quick quiz on old material counts.
"There is too much to cover before the exam"
Cut to the lab list and the learning objectives. Then prioritize the structures that connect to the most others, such as major nerves and vessels, because learning them pulls their neighbours along.
"Physiology makes no sense even when I know the anatomy"
Go back to Step 6 and trace one process start to finish out loud. Most physiology confusion comes from learning steps as separate facts instead of as a sequence where each step causes the next.
Conclusion
Anatomy and physiology reward active work over time on the page. Self-testing beats rereading and note copying, as the anatomy and physiology trial showed after one week. Spacing those tests across days nearly tripled recall in the muscle study for the same 24 minutes of effort. Drawing structures from memory, tying each one to its function and explaining mechanisms out loud turn a list of names into understanding you can use on both written and practical exams.
Build each week around the same loop: preview, capture, recall, space, draw, connect and explain. Repeat it for every region, keep a list of what still feels muddy, and review older material every week so it is still there on exam day.